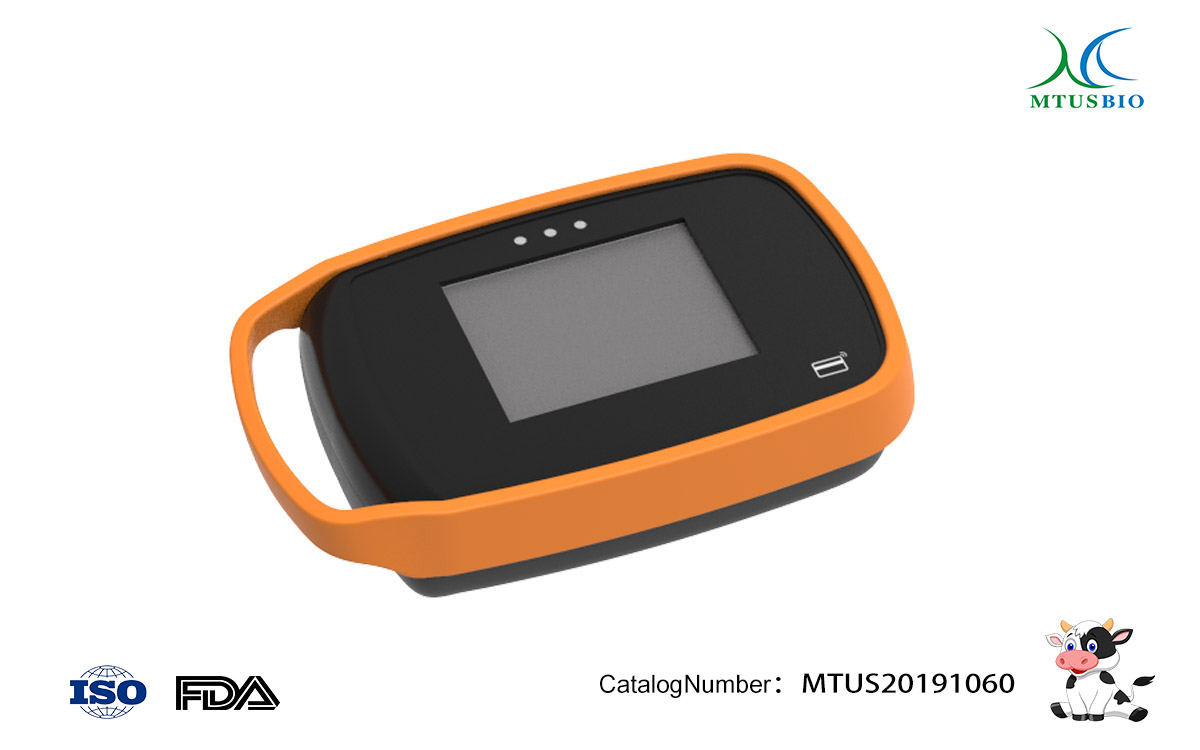
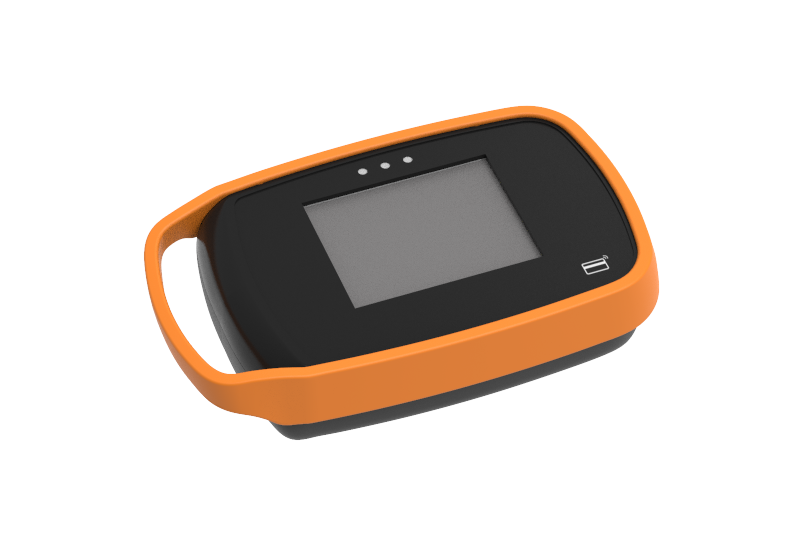
2. Hardware parameters
(1) Bluetooth version: 4.0;
(2) RFID: 13.56MHz;
(3) LCD screen size: 2.8 inches;
(4) Input voltage: 5V 2A;
(5) Lithium battery capacity: 5000mAh;
(6) Interface: USB interface, TF storage expansion;
(7) Dimensions: 152mm (length) x 92mm (width) x 35mm (height).
3. Main performance characteristics
3.1 Operation interface: slim body, Chinese intelligent system, LCD touch screen, easy to use interface;
3.2 Data fitting: linear, logarithmic transformation, polynomial, four-parameter, semi-quantitative, etc;
3.3 Automatic identification of Strip or Card (Cassette) insertion, intelligent identification of C and T lines, super error correction;
3.4 Display result: automatically calculate the concentration and give negative and positive judgment results;
3.5 CV: <1%;
3.6 Measurement value range: 0-2000;
3.7 Maximum allowable error range of C and T lines: ± 3mm;
3.8 Can store more than 5000 test results;
3.9 Can be connected to a Bluetooth printer and print the measurement report at any time;
3.10 Large-capacity lithium-ion battery to meet long-term field operation or vehicle use;
3.11 Three major terminals can be customized: Android APP, computer software, and web server upload.
4. Working conditions
Ambient temperature: 5 ℃~ 40 ℃;
Relative humidity: ≤80%;
Atmospheric pressure: 86.0kPa to 106.0kPa.
5. Work flow chart
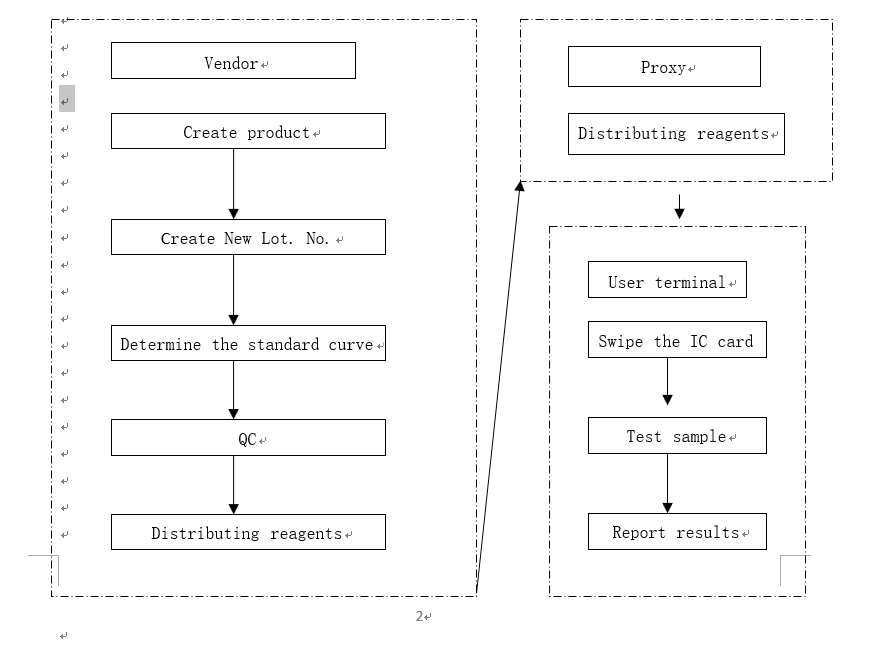
(1) Power on / off: long press the power button (about 2-3 seconds) to turn on the instrument. In the power-on state, long press the power button (about 2-3 seconds) to turn off the instrument.
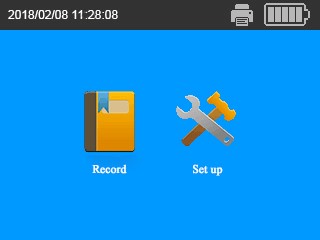
(2) When the instrument is turned on, the main interface displays two functions: [Record] and [Setting].
(3) Detection: Swipe the IC card above the card pattern on the right side of the instrument, and the instrument beeps, and the following interface appears:
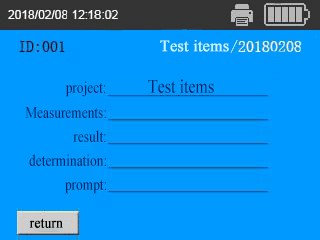
(4) Insert the Test strip or Test Cassette, the instrument will recognize it automatically, display the result and print it automatically. (Pictured) (Bluetooth printer needs to be connected for automatic printing, please refer to (7) setting for the connection method). If you need to test multiple samples continuously, you just need to continue inserting the reagent strip instead of swiping the IC card multiple times.
(5) After the test is completed, click the [Back] button to return to the main interface.
(6) Record: In the main interface, press the [Record] button to enter the history window, you can view, print, and export the history.
6.1 View records: Click [Home], [End], [Previous], and [Next] in the history window to page through the records.
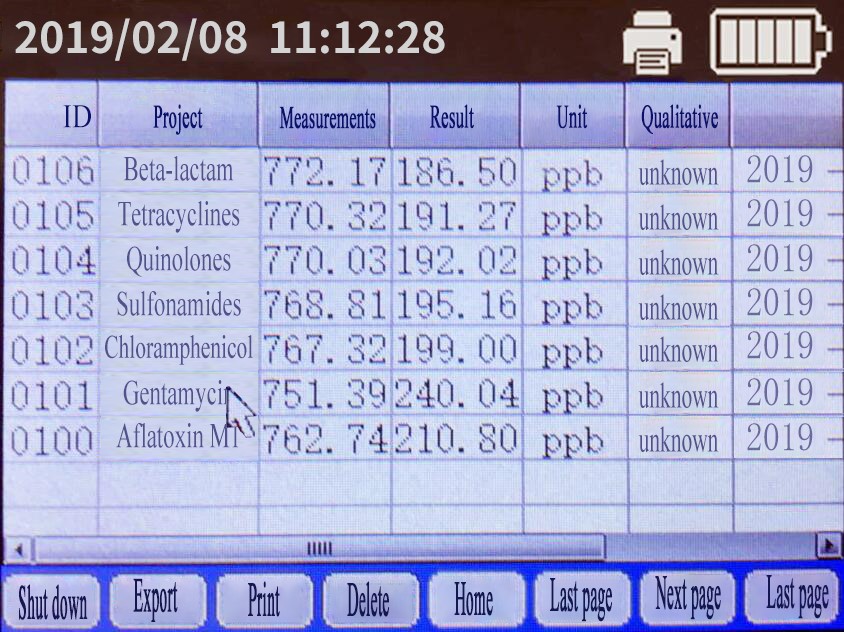
6.2Print the record: Click the [Print] button, select the range to be printed in the prompt box, and the printer starts to print the result report.
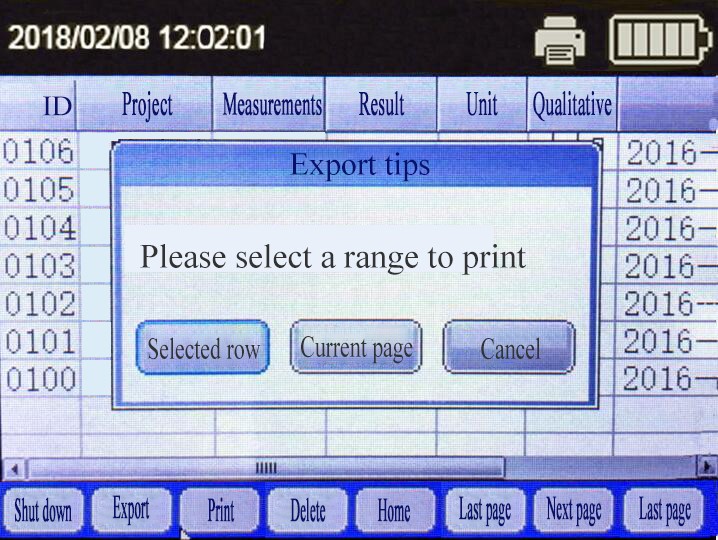
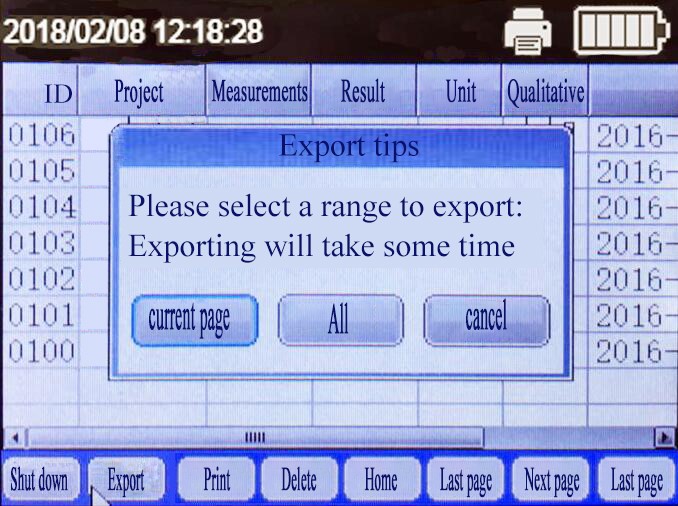 6.3 Export record: Insert the TF storage expansion card, click the [Export] button, select the range of data to be exported in the prompt box, and the data will be saved to the memory card.
(7) Setting: Press the [Setting] button in the main interface to enter the system setting window.
7.1 setting up a Bluetooth printer
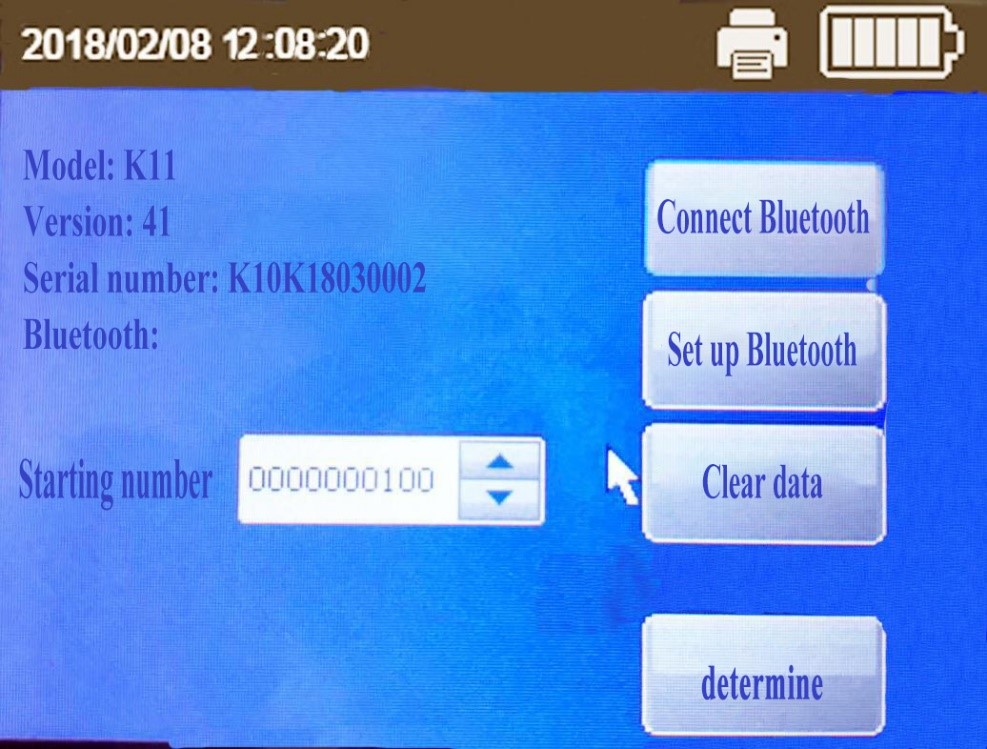
First time use: Turn on the Bluetooth printer, and then [Set Bluetooth] button in the setting window (as shown below):
Click the [Scan] button and wait for the scan to end.
Select the Bluetooth printer device used, and click the [OK] button.
After the connection is successful, when the Bluetooth printer is turned on with the instrument turned on, the connection is automatic and there is no need to manually connect again.
7.2 Set the sample start number
On the startup page, click the [Settings] button. Press the up and down arrows in the Start Number column to select the desired sample start number.
7.3 Set the system time
Need to be connected with the host computer software to operate. After the connection, click the [Device] button on the software interface of the host computer, and select the set system time. The set time is automatically synchronized to the instrument.
8. Charging method
8.1 This instrument is compatible with 5V power supply and micro USB power cable;
8.2 Plug the power cord into the micro USB port of the instrument for charging. The third indicator light on the front of the instrument lights up to indicate that charging is in progress, and the indicator light changes from red to green to indicate that charging is complete;
8.3 Please unplug the power supply in time after charging to avoid long time charging;
8.4 If not used for a long time, please complete the complete charging and discharging process at least once a month.


